|
|
|
|

Dry
Tripod Legs
|
If you have no compunction about putting
your tripod legs into water, then you don't need this project.
If you're like me and would rather not have to disassemble the
legs and clean them, dry them or replace parts, then you might
want to check this out.
Once
I completed my "Marsh
Blind" project, the next step was to find a way
to keep my Gitzo tripod legs dry when set into the same
marsh where the blind was going. I considered a commercial
solution, the Drypod
Waders from R.J. Wiley, but decided I could come
up with something for less than $90 for a starter set
of Drypod Waders. While my solution is hardly as elegant
as the Drypod Waders, and is not designed for deep water
like they are, my covers get the job done for under $15,
cannot get punctured, and won't need replacing for a lo-o-o-ng
time. However, if you plan to be in water deeper than
15 inches or so, you will need to consider the Drypod
Waders instead.
 |
 |
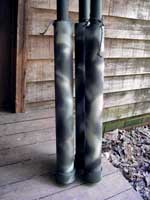
| Dry
leg covers |
Dry
leg covers & Marsh Blind
in use at Lake Mattamuskeet |
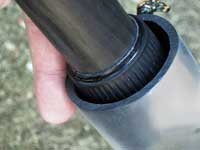 |
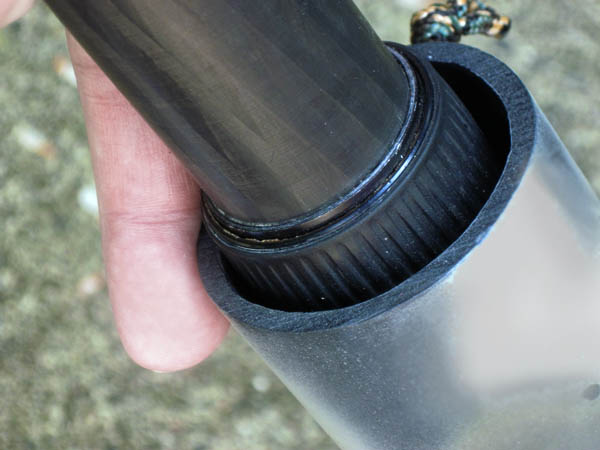
Use
smallest diameter pipe that fits over your leg locks
|
|
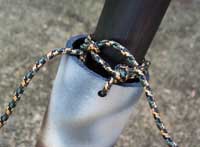 |
Tie
detail
|
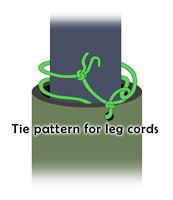 |
| Tie
pattern |
This is
an extremely simple project. All you need is a 5-foot length
of black ABS plastic pipe, three matching diameter end caps
and some ABS cement from your local hardware/plumbing supply.
Alternately, you could probably manage well enough with silicone
caulking to seal the end caps on the pipe. I chose ABS over
PVC as it weighs less than the same diameter PVC pipe, and weight
is always a consideration. The diameter of your pipe should
be just large enough to fit over the largest leg lock, PLUS
1/8-inch to allow for the tie cord. This works very well for
the twist type leg locks on Gitzo and other tripods. (Some other
types of leg locks may require overly large diameter pipe.)
Cut
the pipe into three equal lengths of 20 inches (5 feet = 60
inches divided by 3 = 20 inches). Smooth the cut ends and glue
one end cap on each piece. Next drill a hole about 1/2-inch
from the open end of the pipe. This hole needs to be just large
enough to allow a piece of 1/8-inch nylon cord to slip though.
Insert an 18-inch length of cord through the hole and tie a
not in one end to keep the cord from slipping back through.
Now tie a small loop in the cord about 5 inches from the other
end. The loop needs to only be large enough for the cord itself
to slip through it. Now the cord cannot slip out from either
end and get lost.
To finish
off the project, you can paint the pipe with camo paint. I recommend
thoroughly scuffing the surface with sandpaper before painting.
This will help the paint adhere better. That's it. You're done.
Slip the
pipes over your tripod legs and tie each cord to keep the pipe
from slipping down and off the legs. The lower left diagram
shows my technique for tying the cord for a snug fit to the
leg. Tied like this, the cord will hold the pipe snugly in place
because it wraps the leg twice. The diagram shows it tied very
loosely in order to better show the path of the cord. Obviously,
when you tie it, you should pull the cord snug and tie it tightly.
Don't worry though, because nylon cord has a useful attribute,
that of holding a knot well enough for these purposes, while
still being easily untied when desired.
Now you're ready to get those wonderful
low angle shots of birds on the water. |
| |
|
|
 |
|
 |